
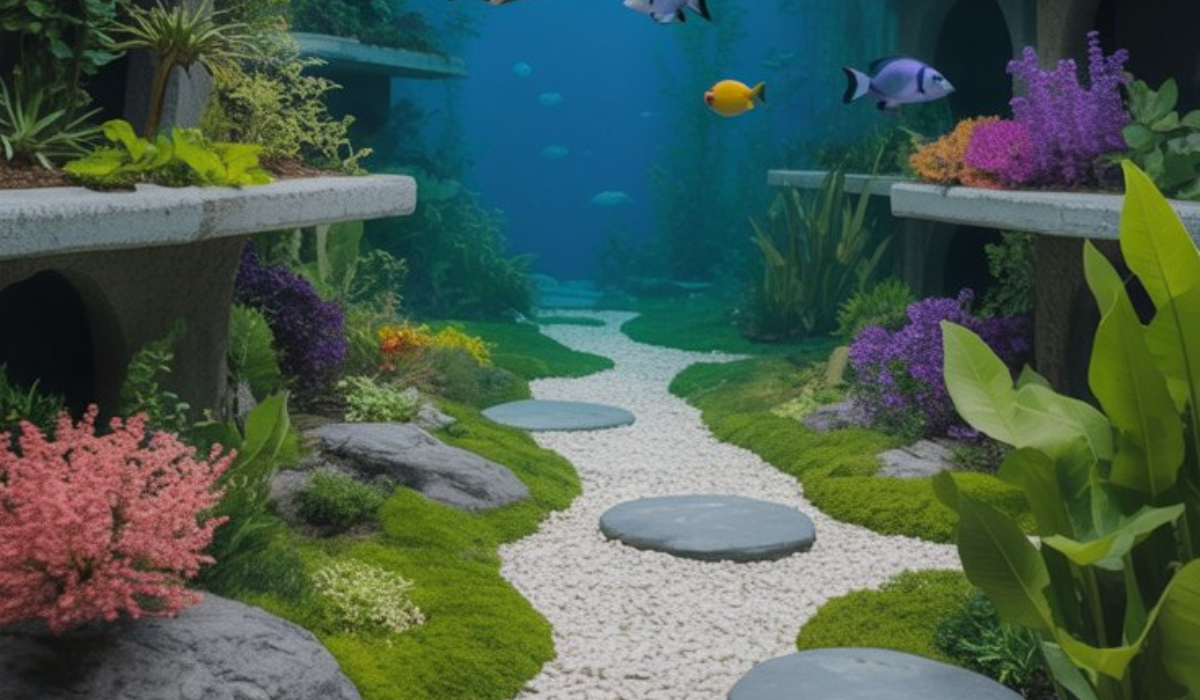
Creating an aquarium from scratch can be one of the most rewarding and enjoyable experiences for any fish enthusiast. Aquarium building is not just about housing fish; it’s about constructing a self-sustaining aquatic ecosystem that enhances your home’s beauty and provides a peaceful environment for your aquatic pets. Whether you’re a beginner looking to build a small freshwater setup or an advanced hobbyist planning a complex marine tank, this comprehensive guide will take you through every essential step of aquarium building.
1. Understanding Aquarium Building
Aquarium building refers to the process of designing, constructing, and setting up a custom fish tank system. It involves selecting the right materials, equipment, and aquatic life to create a balanced and visually appealing environment. The process can be as simple as assembling a small 10-gallon tank or as complex as constructing a large wall-mounted or in-wall aquarium.
Unlike buying a ready-made aquarium, building your own tank allows full control over size, design, filtration system, lighting, and layout. You can create a setup that matches your personal aesthetic and meets the specific needs of your fish or aquatic plants.
2. Planning Your Aquarium Build
Before starting construction, careful planning is crucial. Here are key points to consider:
a. Determine the Purpose
Decide what kind of aquarium you want to build:
- Freshwater aquarium – Best for beginners, easier to maintain.
- Saltwater aquarium – Ideal for experienced hobbyists; allows you to keep corals and marine species.
- Planted aquarium – Focuses on aquatic plants and natural aesthetics.
- Aquascape or biotope – Designed to mimic specific natural environments.
b. Choose the Tank Size
Tank size depends on space, budget, and species choice. Larger tanks are more stable and offer more flexibility for aquascaping, but they require more materials and maintenance.
Popular sizes include:
- Small: 10–20 gallons (great for bettas or small community fish)
- Medium: 30–55 gallons
- Large: 75 gallons and above
c. Decide on Tank Location
Select a stable surface away from direct sunlight, heaters, or air conditioners. Ensure the floor can support the tank’s weight when filled (a gallon of water weighs around 8.34 pounds).
d. Budget and Tools
Building an aquarium can range from a few hundred to several thousand dollars depending on materials and size. Make a list of essential tools and supplies before starting.
3. Materials and Tools Needed for Aquarium Building
To construct a reliable and leak-proof aquarium, you need high-quality materials. Below is a list of commonly used items:
a. Materials
- Glass or acrylic sheets (thickness depends on tank size)
- Aquarium-safe silicone sealant
- Glass cutter or acrylic saw
- Measuring tape and clamps
- Masking tape
- Base and frame material (wood, metal, or plastic)
- Support stand or cabinet
b. Essential Aquarium Tools
- Level – To ensure the tank is even.
- Silicone applicator – For neat sealing.
- Razor scraper – To clean excess silicone.
- Safety gloves and goggles
- Water testing kit – For checking ammonia, nitrite, and pH levels.
- Filtration system, heater, and lighting equipment (for setup phase)
4. Step-by-Step Aquarium Building Process
Step 1: Measure and Cut Glass or Acrylic
Start by determining the exact dimensions of your aquarium. Use a glass cutter to precisely cut panels, ensuring all edges are straight and smooth. For large tanks, use thicker glass (e.g., 10–12 mm for tanks over 75 gallons).
Step 2: Assemble the Panels
Place masking tape on the edges to prevent slipping. Apply a bead of silicone sealant along the edges and position the panels upright, securing them temporarily with clamps or tape. Allow the silicone to cure for at least 24–48 hours.
Step 3: Apply Internal Sealing
Once the basic structure is stable, apply additional silicone on all inner seams for extra strength and water tightness. Smooth the silicone with your finger or a scraper for a clean finish.
Step 4: Test for Leaks
After the silicone has fully cured, fill the tank halfway with water and leave it for 24 hours to check for leaks. If no leaks are found, drain and clean the tank before moving to the next step.
Step 5: Add Background and Substrate
Add decorative backgrounds or paint the back panel if desired. Then, pour in your chosen substrate (gravel, sand, or soil). Rinse the substrate thoroughly before adding it to prevent cloudiness.
Step 6: Install Equipment
Set up your:
- Filter system – Essential for removing waste and keeping water clean.
- Heater – To maintain stable temperature.
- Lighting – Promotes plant growth and enhances tank appearance.
- Air pump – Increases oxygen circulation.
Step 7: Add Decorations and Plants
Arrange rocks, driftwood, and plants to create a natural, visually appealing layout. Make sure decorations don’t block filter intakes or damage fish fins.
Step 8: Fill the Tank and Cycle It
Fill the tank slowly using dechlorinated water. Start the filtration and heating system, and let the tank run for several weeks to establish beneficial bacteria before adding fish. This process is called cycling, and it helps prevent ammonia spikes.
5. Types of Aquarium Builds
a. Freshwater Aquarium
Freshwater setups are the most popular and easiest to maintain. Common fish include guppies, tetras, and cichlids. These tanks often include live plants and a gravel substrate.
b. Saltwater Aquarium
A saltwater aquarium requires marine salt mix, protein skimmers, and live rock. It supports colorful corals and exotic fish like clownfish, tangs, and gobies.
c. Planted Aquarium
Focuses on growing aquatic plants under controlled lighting and CO₂ levels. The goal is to create a lush underwater garden.
d. Biotope Aquarium
Mimics a specific natural habitat, such as an Amazon riverbed or African lake. It uses native fish, plants, and substrates.
e. Paludarium or Aquaponic Aquarium
Combines land and water environments, perfect for amphibians, reptiles, or aquaponic setups where plants filter fish waste naturally.
6. Common Mistakes in Aquarium Building
Avoiding common errors can save you from future issues:
- Using non-aquarium-safe silicone – Regular silicone contains chemicals harmful to fish.
- Improper measurements – Can cause leaks or structural failure.
- Skipping the cycling process – Leads to ammonia poisoning.
- Overstocking fish – Causes stress and water pollution.
- Placing the tank on an uneven surface – Risks cracks or breaks.
7. Maintenance After Building Your Aquarium
Once your aquarium is up and running, consistent maintenance ensures long-term success.
Weekly Tasks
- Check water temperature and quality.
- Perform partial water changes (20–30%).
- Clean the glass and decorations using an algae scraper.
- Remove dead leaves and uneaten food.
Monthly Tasks
- Deep clean the filter (without killing beneficial bacteria).
- Test ammonia, nitrite, and nitrate levels.
- Inspect equipment for damage or wear.
Occasional Tasks
- Trim overgrown plants.
- Replace lighting bulbs as needed.
- Reorganize decorations or aquascape.
8. Benefits of Building Your Own Aquarium
Building your own aquarium offers numerous advantages:
- Customization – Tailor the design, size, and shape to your liking.
- Cost Efficiency – Building can be cheaper than buying large custom tanks.
- Learning Experience – Gain hands-on knowledge about aquatic systems.
- Aesthetic Control – Perfectly match your home’s interior style.
- Satisfaction – There’s immense pride in watching a tank you built flourish.
9. Advanced Aquarium Building Ideas
Once you master the basics, you can experiment with:
- Built-in wall aquariums for a luxury look.
- Divided tanks for breeding or species separation.
- Automated systems with smart controllers.
- Themed aquascapes like jungle, rock, or mountain layouts.
- Low-maintenance nano tanks for small spaces.
10. Safety Tips During Aquarium Building
- Always wear safety goggles when cutting glass or using silicone.
- Ensure good ventilation during sealing and curing.
- Don’t move or fill the tank until silicone fully cures.
- Use aquarium-safe materials only – avoid metals or untreated wood.
- Check for electrical safety when installing heaters and lights.
Conclusion
Building an aquarium is a creative and fulfilling project that combines craftsmanship, science, and design. Whether you’re creating a small planted tank or a massive marine setup, careful planning, high-quality materials, and patience are key to success. An aquarium built with love and attention to detail will not only become a stunning focal point in your home but also a thriving ecosystem where your aquatic pets can live healthily and happily.
FAQs About Aquarium Building
1. What materials are best for building an aquarium?
Glass and acrylic are the most common materials. Glass is more scratch-resistant, while acrylic is lighter and more impact-resistant.
2. How long does it take to build an aquarium?
Basic construction can take 1–2 days, but the curing process for silicone and cycling can extend the setup to 3–4 weeks before adding fish.
3. Can I build a large aquarium at home?
Yes, but ensure proper structural support, especially for tanks over 100 gallons. Consult a professional for large-scale or wall-mounted builds.
4. Do I need to cycle a newly built aquarium?
Absolutely. Cycling allows beneficial bacteria to establish, preventing harmful ammonia and nitrite levels.
5. What type of silicone should I use?
Use 100% aquarium-safe silicone with no added mold inhibitors or chemicals.
6. Can I add fish immediately after setup?
No. Always wait until the tank has completed the nitrogen cycle (usually 3–4 weeks).
7. How often should I clean my aquarium?
Perform weekly partial water changes and clean algae as needed. Deep clean the filter monthly.
8. What’s the difference between freshwater and saltwater aquarium building?
Saltwater tanks require marine salt, protein skimmers, and specialized equipment, while freshwater tanks are simpler and more beginner-friendly.
9. How can I make my aquarium energy-efficient?
Use LED lighting, timers, and efficient filtration systems to reduce energy use.
10. Is it cheaper to build or buy an aquarium?
Building is often cheaper for large tanks and allows more customization, though small commercial tanks may be more cost-effective.