
Carbon dioxide (CO2) plays a critical role in the health and growth of aquatic plants in planted aquariums. While fish and other organisms produce a small amount of CO2 naturally, it is rarely enough to sustain lush, thriving plant life. This is why many aquarists supplement CO2 into their tanks. However, maintaining the right CO2 levels can be tricky. Too little CO2 can stunt plant growth, while too much can harm fish and invertebrates.
This is where a CO2 drop checker becomes an essential tool. It allows aquarists to visually monitor CO2 concentration in real-time, ensuring a healthy balance between fish safety and plant growth.
In this article, we’ll explore everything you need to know about CO2 drop checkers—including what they are, how they work, how to use them effectively, and tips for accurate CO2 monitoring.
What is a CO2 Drop Checker?
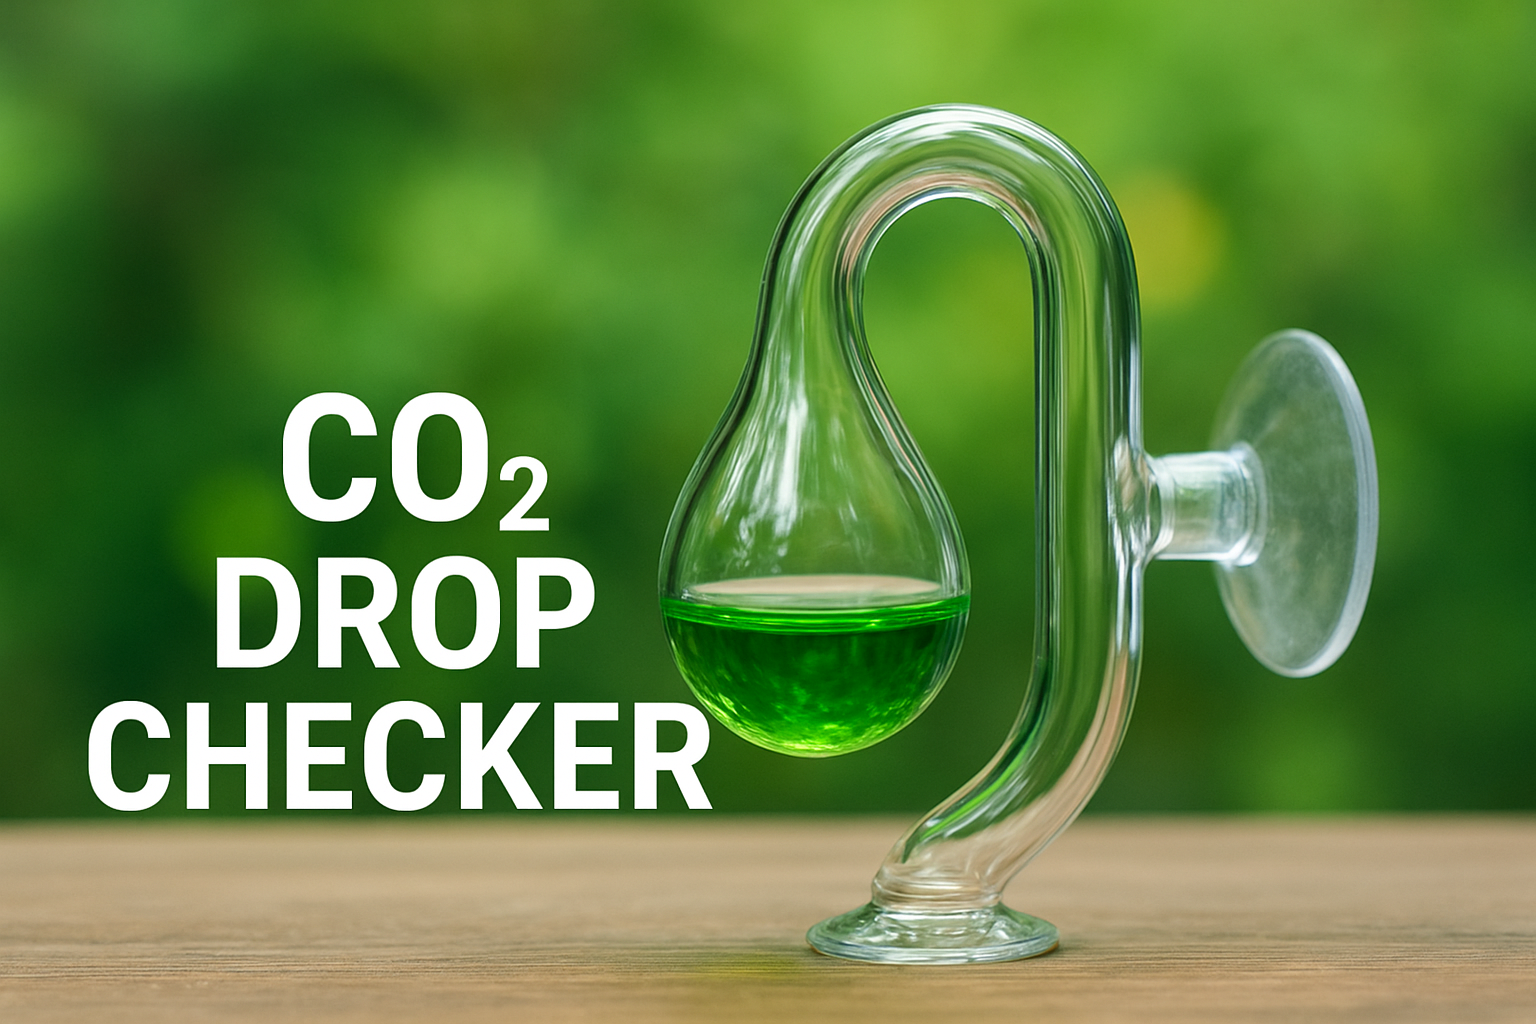
A CO2 drop checker is a small device made of glass or plastic that is placed inside the aquarium to measure the dissolved CO2 levels in the water. It works with a special indicator solution that changes color depending on the CO2 concentration.
- Blue = Too little CO2
- Green = Optimal CO2 (safe for fish, good for plants)
- Yellow = Too much CO2 (dangerous for fish and invertebrates)
By simply looking at the color inside the drop checker, aquarists can quickly assess if their CO2 injection system is working properly.
How Does a CO2 Drop Checker Work?
The CO2 drop checker works on the principle of gas exchange. Here’s the step-by-step process:
- Indicator solution preparation – The drop checker is filled with a mixture of 4 dKH (carbonate hardness) water and a few drops of pH indicator (bromothymol blue).
- Gas exchange – CO2 in the aquarium water diffuses into the air gap inside the drop checker and then dissolves into the indicator solution.
- Color change – The pH of the solution changes depending on the CO2 concentration:
- If CO2 is low, the solution becomes more alkaline → blue.
- If CO2 is at the ideal level (~30 ppm), the solution turns green.
- If CO2 is too high, the solution becomes acidic → yellow.
This makes it easy for aquarists to visually monitor CO2 levels without expensive digital equipment.
Why Use a CO2 Drop Checker in Your Aquarium?
Maintaining the right CO2 levels is crucial for planted aquariums. Here are the main reasons why a drop checker is important:
1. Prevents Fish Suffocation
Excessive CO2 can lower oxygen levels and suffocate fish. A drop checker helps prevent dangerous CO2 buildup.
2. Promotes Healthy Plant Growth
Plants need CO2 for photosynthesis. Without enough, they may suffer from yellowing leaves, slow growth, or algae outbreaks.
3. Easy and Affordable Monitoring
Unlike electronic CO2 sensors, drop checkers are inexpensive, simple, and reliable for daily monitoring.
4. Prevents Algae Growth
Stable CO2 levels help plants outcompete algae, leading to a clean and balanced aquarium.
5. Peace of Mind for Beginners
For aquarists new to CO2 injection, a drop checker is an easy-to-understand tool that prevents guesswork.
How to Use a CO2 Drop Checker
Using a drop checker properly ensures accurate CO2 readings. Follow these steps:
Step 1: Prepare the Indicator Solution
- Use 4 dKH reference solution (not aquarium water).
- Add a few drops of bromothymol blue pH indicator.
- The solution should be a blue color initially.
Step 2: Fill the Drop Checker
- Carefully fill the bulb of the drop checker with the prepared solution.
- Avoid air bubbles that can affect readings.
Step 3: Place the Drop Checker in the Aquarium
- Attach it with suction cups inside the tank.
- Position it halfway down the tank, away from direct CO2 bubbles or filter outflow for stable readings.
Step 4: Wait for the Reading
- It takes 1–2 hours for the color to stabilize.
- Compare the color against the standard chart:
- Blue → Increase CO2.
- Green → Perfect balance.
- Yellow → Reduce CO2.
Best Placement for a CO2 Drop Checker
Correct placement is key for accurate readings. Here are some tips:
- Place it opposite the CO2 diffuser to measure dissolved CO2 distribution.
- Avoid placing it near the surface where CO2 levels may be lower due to gas exchange.
- Avoid direct CO2 bubbles hitting the drop checker, as this can cause false high readings.
- Place it mid-level in the aquarium for the most representative reading.
Common Mistakes When Using a Drop Checker
Even though drop checkers are simple, many beginners make mistakes that affect accuracy:
- Using aquarium water instead of reference solution – This gives false readings. Always use 4 dKH solution.
- Placing it near the diffuser – Can show yellow even when the rest of the tank is low in CO2.
- Expecting instant results – Readings take 1–2 hours to reflect changes.
- Ignoring tank circulation – Poor water flow causes uneven CO2 distribution, making the checker unreliable.
- Not checking regularly – The solution should be refreshed every 4–6 weeks for accuracy.
How to Prepare 4 dKH Solution at Home
While you can buy ready-made 4 dKH solutions, some aquarists prefer to make their own.
Method:
- Start with distilled water.
- Add measured amounts of sodium bicarbonate (baking soda).
- Use a KH test kit to confirm the solution is exactly 4 dKH.
This ensures accurate CO2 readings when used with the pH indicator.
How Accurate is a CO2 Drop Checker?
A drop checker is not an instant, real-time measurement tool like an electronic CO2 probe. It lags behind actual CO2 levels by about 1–2 hours due to gas exchange time.
However, for most planted aquariums, this delay is not an issue because CO2 levels generally remain stable once the injection system is tuned properly.
Drop checkers provide a visual, low-cost, and highly effective way to maintain safe and optimal CO2 levels.
Alternatives to a CO2 Drop Checker
While drop checkers are the most popular choice, there are other methods for monitoring CO2:
- pH and KH Chart Method – Measuring pH and KH of tank water to calculate CO2 using a chart.
- Electronic CO2 Monitors – Provide instant readings but are expensive.
- Fish Behavior Monitoring – Watching fish for signs of CO2 stress (gasping at the surface). Not reliable for precision.
Among these, the drop checker remains the most practical option for hobbyists.
Tips for Getting the Best Results
- Refresh the solution monthly for accuracy.
- Pair with a CO2 regulator for consistent injection.
- Ensure good water circulation for even CO2 distribution.
- Use alongside aquarium lighting schedules to optimize plant photosynthesis.
- Monitor fish behavior—drop checker shows levels, but fish safety should come first.
Choosing the Right CO2 Drop Checker
When buying a drop checker, consider:
- Material – Glass looks elegant but is fragile. Plastic is durable but less aesthetic.
- Shape – U-shape or bulb-style are most common; both work well.
- Size – Choose based on your tank size; larger tanks may benefit from multiple checkers.
- Solution included – Some come with pre-mixed 4 dKH solution; others require you to buy separately.
Conclusion
A CO2 drop checker is an essential tool for any aquarist running a planted aquarium with CO2 injection. It provides a simple, reliable, and cost-effective way to monitor dissolved CO2 levels and prevent risks to fish while ensuring optimal plant growth.
By following best practices—using the correct 4 dKH solution, proper placement, and regular monitoring—you can maintain the perfect CO2 balance in your aquarium.
Whether you’re a beginner or an experienced aquascaper, a CO2 drop checker will give you confidence, peace of mind, and healthier aquariums.
FAQs About CO2 Drop Checker
Q1: How long does it take for a CO2 drop checker to change color?
It usually takes 1–2 hours for the drop checker to respond to changes in CO2 levels.
Q2: Can I use aquarium water instead of 4 dKH solution?
No. Using aquarium water gives false readings because its KH level varies. Always use 4 dKH reference solution.
Q3: How often should I replace the indicator solution?
Replace the solution every 4–6 weeks for accurate results.
Q4: Where should I place my CO2 drop checker?
Place it mid-level in the tank, opposite the diffuser, and away from direct CO2 bubbles.
Q5: What color should the drop checker be?
A healthy planted aquarium should have the drop checker showing green, which indicates about 30 ppm CO2.
Q6: Can I use more than one drop checker?
Yes. In large tanks, using multiple drop checkers ensures CO2 is evenly distributed.
Q7: What happens if the drop checker turns yellow?
Yellow indicates too much CO2, which is dangerous for fish. Reduce CO2 injection immediately.
Q8: Do I need a drop checker if I already monitor pH and KH?
A drop checker provides a visual, real-time confirmation that complements pH/KH monitoring and is easier for daily use.