
Aquariums are a wonderful way to bring nature into your home, offering beauty, relaxation, and the joy of caring for aquatic life. However, one of the most stressful problems aquarium owners face is aquarium leaks. Even a small leak can lead to water loss, damage to furniture or flooring, and, most importantly, stress or danger to the fish and plants living inside the tank.
If you’ve noticed water seeping out or suspect a leak, don’t panic. With the right knowledge and tools, aquarium leak repair can be handled effectively. In this article, we’ll cover everything you need to know, including causes of leaks, how to find them, repair techniques, long-term maintenance tips, and how to prevent future leaks.
What is Aquarium Leak Repair?
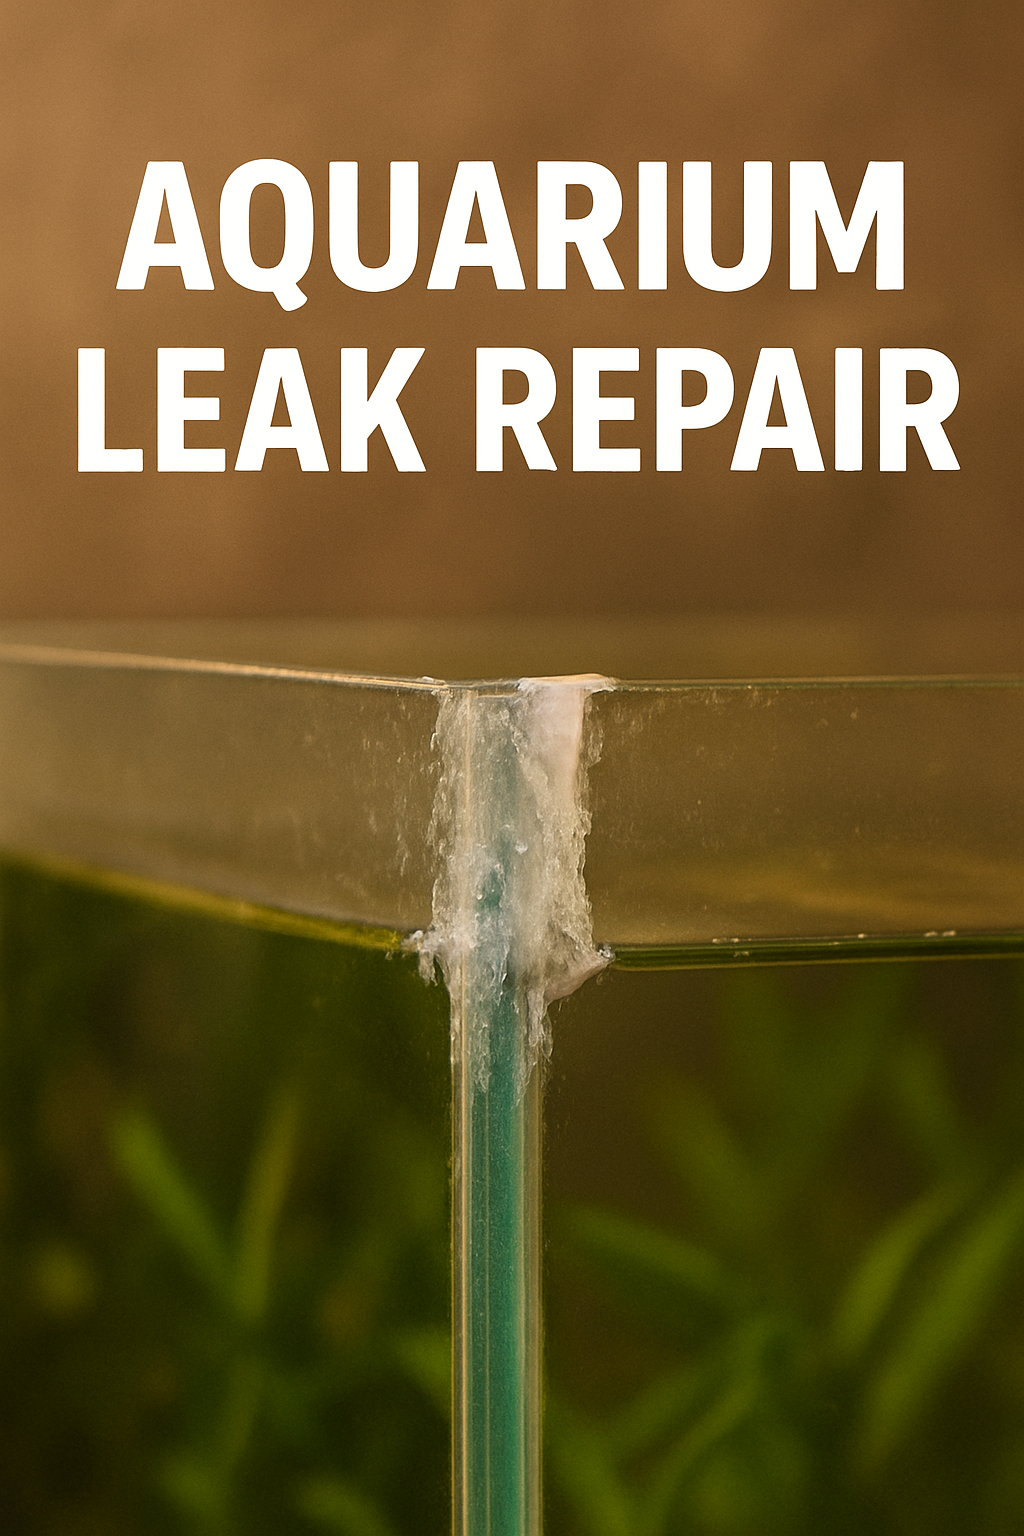
Aquarium leak repair is the process of identifying and fixing water leaks in fish tanks. These leaks usually occur when the silicone sealant holding the glass panels together weakens, cracks, or gets damaged. Sometimes, leaks also develop due to scratches, poor construction, or physical damage to the tank.

Effective aquarium leak repair involves:
- Identifying the leak source.
- Removing old or damaged silicone.
- Resealing the aquarium properly.
- Allowing the sealant to cure before reintroducing fish.
Proper repair ensures your aquarium remains safe, watertight, and durable.
Causes of Aquarium Leaks
Leaks don’t happen randomly; they’re usually the result of one or more underlying issues. Understanding these causes can help you prevent them in the future.
- Aging Silicone Seals
- Over time, the silicone used to seal aquariums weakens and loses elasticity.
- Exposure to water, algae scrapers, or cleaning tools can wear it down.
- Physical Damage
- Sharp objects, accidental bumps, or dropping decorations into the tank can cause cracks or chip the glass.
- Poor Construction Quality
- Low-quality aquariums sometimes have weak seals or thin glass.
- Tanks not designed to handle high water pressure may fail over time.
- Improper Leveling
- If an aquarium stand is uneven, pressure distributes unevenly across the glass, leading to stress cracks or leaks.
- Temperature Fluctuations
- Extreme hot or cold temperatures may cause silicone to shrink, expand, or crack.
How to Detect an Aquarium Leak
Spotting leaks early is essential to prevent major water damage. Signs include:
- Wet spots under the aquarium – The most obvious sign.
- Condensation on the outside – If it’s not humidity, it may be a leak.
- Water line dropping quickly – Evaporation happens slowly; sudden water loss suggests a leak.
- White salt stains or streaks – In saltwater tanks, evaporated salt marks where water escaped.
Leak Test
- Place your aquarium on a dry surface.
- Fill it partially with water.
- Use a paper towel around seams to detect moisture.
- Identify exactly where the water escapes.
Step-by-Step Guide: Aquarium Leak Repair
If you discover a leak, follow this detailed process to fix it safely.
Step 1: Remove Fish and Decorations
- Transfer fish into a temporary tank or bucket with a heater and air pump.
- Move live plants and decorations to keep them safe.
Step 2: Drain the Aquarium
- Completely drain the water.
- Dry the aquarium thoroughly, especially around the leak.
Step 3: Remove Old Silicone
- Use a razor blade or utility knife to scrape away the old silicone sealant.
- Be careful not to scratch the glass surface.
- Clean with rubbing alcohol to ensure no residue remains.
Step 4: Apply New Silicone Sealant
- Use 100% aquarium-safe silicone (avoid household silicone with chemicals harmful to fish).
- Apply a smooth bead of silicone along the inside seam.
- Press it evenly into place using a caulking tool or your finger (with gloves).
Step 5: Let It Cure
- Allow the silicone to dry for at least 24–48 hours.
- Never rush this step, as uncured silicone can leak again or harm fish.
Step 6: Test the Tank
- Fill the aquarium halfway with water.
- Leave it for 24 hours on a dry surface to check for leaks.
- If no leaks appear, refill completely and reintroduce fish.
Tools and Materials Needed for Aquarium Leak Repair
- Razor blade or scraper
- Aquarium-safe silicone sealant
- Paper towels
- Isopropyl alcohol (for cleaning)
- Masking tape (for neat silicone application)
- Bucket or spare tank (for temporary fish housing)
- Towels to absorb water spills
Professional vs. DIY Aquarium Leak Repair
DIY Repair
✅ Cost-effective
✅ Convenient if you already own tools
✅ Satisfying for hands-on aquarium hobbyists
❌ Requires patience and precision
❌ Mistakes can worsen leaks
❌ Long curing times
Professional Repair
✅ Guaranteed results if done by experts
✅ Saves time and stress
✅ Ideal for large aquariums (100+ gallons)
❌ More expensive
❌ Not always available locally
Preventing Aquarium Leaks
Prevention is better than cure. Follow these tips to avoid future leaks:
- Buy Quality Aquariums – Invest in tanks from reputable brands.
- Level Your Stand – Always check with a spirit level before setting up.
- Avoid Sharp Tools – Use plastic scrapers instead of metal for cleaning glass.
- Perform Regular Inspections – Check seams every few months for signs of wear.
- Avoid Overfilling – Water should not exceed the safe fill line.
- Temperature Control – Keep tanks away from heaters, sunlight, or cold drafts.
Long-Term Maintenance After Leak Repair
- Monitor seams for at least a month after repair.
- Keep towels nearby for quick water cleanup.
- Perform small water top-ups instead of big refills (to reduce pressure).
- Schedule maintenance checks every 3–6 months.
When to Replace Your Aquarium Instead of Repairing
Sometimes, repair isn’t enough. Consider replacing your tank if:
- The crack is large and goes through the glass.
- Multiple leaks occur at once.
- Silicone seals appear brittle or worn throughout.
- The aquarium is old (10+ years).
A new aquarium can be a safer, long-term investment than repeated patchwork repairs.
Conclusion
Aquarium leaks can feel overwhelming, but with the right knowledge, aquarium leak repair is manageable. From detecting small leaks to fully resealing an aquarium, the process requires patience, proper tools, and the use of aquarium-safe materials. Regular maintenance and preventive care are key to avoiding future leaks.
By following this guide, you’ll ensure your aquarium remains a safe, beautiful environment for your fish, plants, and aquatic ecosystem.
FAQs About Aquarium Leak Repair
1. How long does aquarium silicone last?
Aquarium silicone typically lasts 7–10 years, but frequent cleaning, stress, or temperature changes may shorten its life.
2. Can I repair a leaking aquarium without draining it?
No. To properly reseal, you must drain the aquarium completely. Quick patching without draining rarely holds up long-term.
3. What silicone should I use for aquarium leak repair?
Always use 100% aquarium-safe silicone labeled as non-toxic and safe for fish. Avoid household or mold-resistant silicones.
4. How long should I wait before refilling the tank after sealing?
Wait at least 24–48 hours for the silicone to fully cure. For larger tanks, 72 hours is safer.
5. Can small cracks in aquarium glass be fixed?
Hairline cracks may sometimes be sealed, but larger cracks usually require replacing the entire panel or tank.
6. Is aquarium leak repair permanent?
If done correctly, resealing can last for years. However, if the tank is old or has multiple leaks, replacing may be more reliable.
7. How can I prevent leaks in a new aquarium?
Ensure proper leveling, avoid dropping decorations, and inspect seals regularly. Preventive care is the best solution.