
When you set up an aquarium, the tank itself is often the first thing you think about—its size, shape, and how beautiful it will look in your living room or office. But one factor that many beginners overlook is equally important: the aquarium stand. A solid, well-built stand is essential because it supports the weight of your tank and adds stability to your setup. While you can always buy a ready-made stand, building a DIY aquarium stand is not only more affordable but also customizable and rewarding.
In this detailed guide, we’ll explore why a DIY aquarium stand is worth considering, the tools and materials you’ll need, step-by-step building instructions, customization ideas, maintenance tips, and more.
Why Choose a DIY Aquarium Stand?
Before diving into construction, let’s look at why many aquarists choose to go the DIY route instead of buying pre-made aquarium furniture.
1. Cost Savings
Aquarium stands in stores can be expensive, especially for larger tanks like 75-gallon or 125-gallon setups. By sourcing your own materials—wood, screws, paint—you can save a significant amount of money while still ensuring durability.
2. Customization
Every home and aquarium is different. With a DIY build, you can:
- Match your aquarium stand to your furniture style.
- Add extra shelves for fish food, filters, or equipment.
- Build it to the exact size of your tank.
3. Strength & Durability
Some pre-made stands are made from particle board, which weakens over time, especially when exposed to water. A DIY aquarium stand built from solid wood or metal provides long-term stability.
4. Satisfaction
There’s a sense of pride in building something with your own hands. Every time you see your aquarium thriving on a stand you constructed, you’ll feel accomplished.
Factors to Consider Before Building
Building a DIY aquarium stand isn’t just about hammering some wood together. You need to plan carefully.
1. Tank Size and Weight
Aquariums are heavy. A 55-gallon tank can weigh more than 600 lbs when filled with water, substrate, and decorations. Always build your stand to support more weight than your tank’s maximum capacity.
2. Material Choice
- Wood (common for DIY stands): Affordable, strong, easy to work with. Choose hardwood or treated plywood. Avoid particle board.
- Metal: Provides maximum durability but requires welding skills.
3. Location
Measure the space where you’ll place the aquarium. Ensure the floor is level and can handle the total load of the tank plus stand.
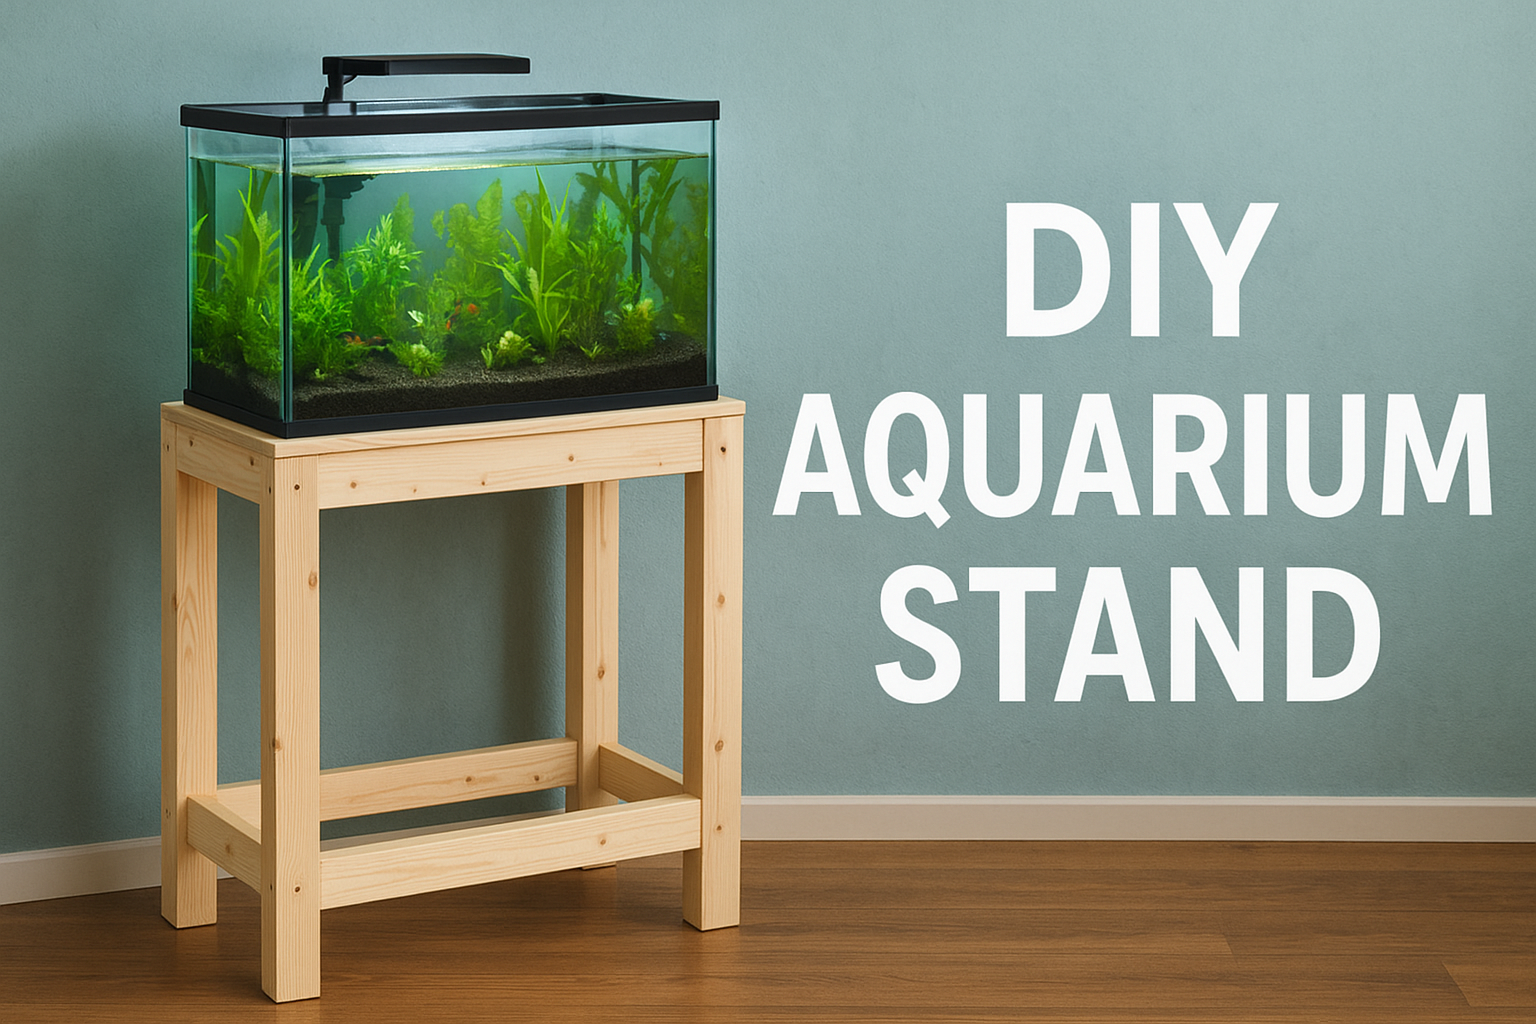
4. Height
The height of your DIY stand depends on your viewing preference. Most stands are between 28–36 inches tall. A taller stand works well if you want to display the tank at eye level.
5. Accessibility
Leave space for filters, sump tanks, or wires. Many DIY builders add cabinet doors to hide equipment.
Tools and Materials You’ll Need
Before starting, gather the right tools and supplies. For a wooden DIY aquarium stand, here’s a common list:
Materials:
- 2×4 or 2×6 solid lumber
- Plywood sheets (for the top, bottom, and sides)
- Wood screws or deck screws
- Wood glue
- Paint, stain, or waterproof sealant
- Hinges (if adding cabinet doors)
- Door handles/knobs (optional)
- Sandpaper
Tools:
- Measuring tape
- Circular saw or table saw
- Power drill
- Level
- Screwdriver
- Clamps
- Safety goggles and gloves
Step-by-Step Guide to Building a DIY Aquarium Stand
Here’s a simple plan for a sturdy wooden DIY stand suitable for medium to large aquariums.
Step 1: Measure and Plan
- Measure your aquarium’s length and width.
- Add at least 1 inch to each dimension for a secure fit.
- Sketch your design, including shelves and cabinet space.
Step 2: Cut the Wood
- Cut 2×4 lumber for the frame: top frame, bottom frame, and vertical supports.
- Ensure all cuts are straight for proper alignment.
Step 3: Build the Top and Bottom Frames
- Lay out the cut pieces and assemble two rectangular frames.
- Use screws and wood glue to secure the joints.
- Double-check with a level to ensure they’re square.
Step 4: Add Vertical Supports
- Attach vertical 2x4s between the top and bottom frames.
- These will bear most of the weight, so use strong screws.
Step 5: Reinforce with Cross Supports
- Add cross braces inside the frame to prevent wobbling.
- This step is especially important for tanks larger than 55 gallons.
Step 6: Attach the Plywood
- Secure a sheet of plywood on the top frame to provide a flat surface for the aquarium.
- You can also add plywood to the sides and back for extra stability and aesthetics.
Step 7: Build the Cabinet (Optional)
- Use plywood to enclose the stand, creating a cabinet.
- Add hinges and doors if you want hidden storage space.
Step 8: Sand and Finish
- Smooth out rough edges with sandpaper.
- Apply paint, stain, or sealant to protect the wood from water damage.
Step 9: Test for Strength
- Place weights (such as water jugs) on the stand to test stability before placing your aquarium.
Customization Ideas for DIY Aquarium Stands
The best part of building your own stand is the ability to make it unique. Here are a few ideas:
- Storage Shelves – Add shelves for filters, fish food, and accessories.
- Sump Integration – Leave space underneath for a sump tank.
- Cable Management – Drill holes in the back for wires and tubing.
- Lighting – Install LED strips inside the cabinet for visibility.
- Glass Doors – Add transparent panels for a modern look.
- Rustic Look – Use reclaimed wood for a farmhouse-style stand.
Mistakes to Avoid
- Using weak materials: Avoid particle board or untreated wood.
- Skipping sealant: Water will eventually spill. Protect your stand with waterproof coating.
- Wrong measurements: Always double-check tank dimensions.
- Not testing weight capacity: Never place your aquarium until you’re 100% sure the stand is strong enough.
Maintenance Tips for Your DIY Aquarium Stand
- Wipe spills immediately to prevent water damage.
- Reapply sealant every few years.
- Inspect screws and joints for loosening over time.
- Avoid placing the stand on uneven floors without leveling it.
Cost of a DIY Aquarium Stand
The cost depends on size and materials:
- Small tanks (10–20 gallons): $40–70
- Medium tanks (40–75 gallons): $70–150
- Large tanks (100+ gallons): $150–300
Compared to store-bought stands (which can range from $200–600), DIY options are much more budget-friendly.
Conclusion
A DIY aquarium stand is more than just a support structure—it’s a chance to create something tailored to your space, style, and aquarium needs. With basic tools, sturdy materials, and a bit of patience, you can build a stand that’s stronger and more beautiful than many store-bought options. Not only will you save money, but you’ll also gain the satisfaction of knowing you built a solid foundation for your aquatic world.
FAQs About DIY Aquarium Stands
Q1: What wood is best for a DIY aquarium stand?
A: Solid hardwoods or 2×4 pine lumber are ideal. Avoid particle board, as it weakens when wet.
Q2: How tall should my DIY aquarium stand be?
A: Typically between 28–36 inches, depending on your viewing preference.
Q3: Can I build a stand for a 125-gallon aquarium?
A: Yes, but ensure you use heavy-duty lumber, plenty of cross supports, and possibly metal reinforcement.
Q4: Do I need to waterproof my DIY stand?
A: Absolutely. Use paint, stain, or polyurethane to protect the wood from moisture damage.
Q5: Can I make a metal DIY aquarium stand?
A: Yes, but you’ll need welding skills. Metal stands are incredibly strong and long-lasting.
Q6: Is it cheaper to build or buy an aquarium stand?
A: Building is usually cheaper, especially for large tanks. However, it requires time and effort.
Q7: How do I test if my stand is strong enough?
A: Place heavy weights (like water-filled containers) equal to your tank’s total weight before adding the aquarium.