
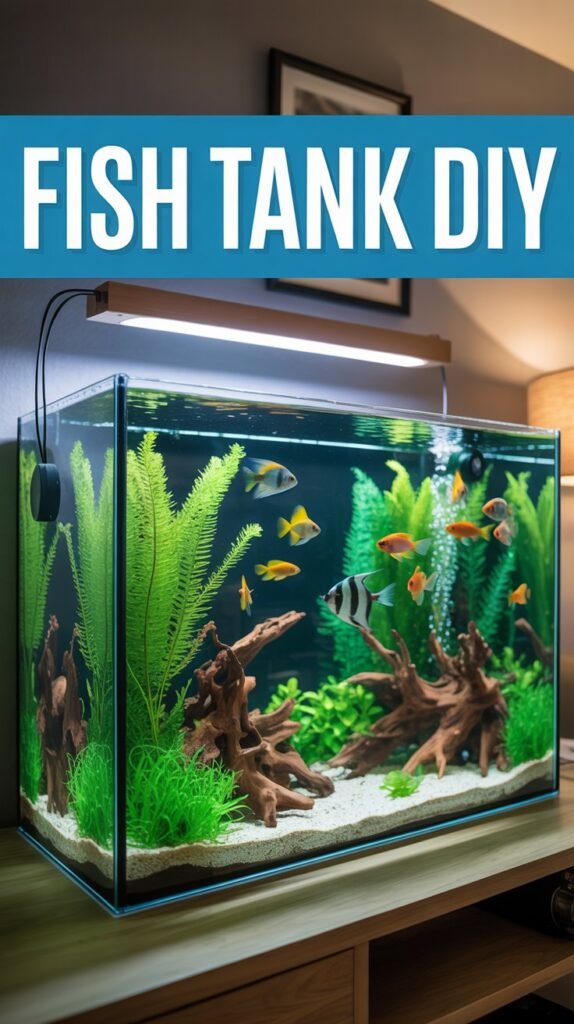
Creating a DIY fish tank is a rewarding and cost-effective way to design an aquarium that fits your exact style and space. Whether you want a simple setup or a creative custom design, building your own fish tank gives you full control over materials, layout, and aesthetics.
This guide will walk you through fish tank DIY ideas, materials, and step-by-step instructions.
Why Choose a DIY Fish Tank?
A DIY aquarium allows you to customize everything.
You can choose the size, shape, and design based on your needs. It can also save money compared to buying a pre-made tank. Most importantly, it gives you the freedom to create a unique aquarium that matches your home décor.
Types of DIY Fish Tanks
Glass Aquarium DIY
- Made using glass panels and silicone
- Clear and professional look
- Suitable for most fish
👉 Best for long-term setups
Acrylic Fish Tank DIY

- Lightweight and durable
- Easier to shape than glass
- More resistant to breakage
👉 Ideal for custom shapes
Plastic Container Tank
- Budget-friendly option
- Quick and easy setup
- Good for temporary use
👉 Best for beginners
Jar or Bowl Aquarium
- Small decorative setup
- Limited fish options
- Requires careful maintenance
👉 Best for plants or shrimp
DIY Fish Tank Ideas
Minimalist Tank
- Clean design
- Few decorations
- Focus on fish
Natural Planted Tank
- Live plants, rocks, driftwood
- Realistic environment
- Better water quality
👉 Best fish: Guppy
Desktop Nano Tank
- Small size
- Compact design
- Easy to place anywhere
👉 Best fish: Betta fish
Wall-Mounted DIY Tank
- Attached to wall
- Space-saving
- Modern look
Outdoor DIY Tank
- Use tubs or containers
- Natural sunlight
- Suitable for hardy fish
👉 Best fish: Goldfish
Materials Needed
To build a basic glass fish tank, you need:
- Glass panels (cut to size)
- Aquarium-safe silicone sealant
- Masking tape
- Measuring tape
- Razor blade or cutter
- Level surface
Always use aquarium-safe silicone to avoid harming fish.
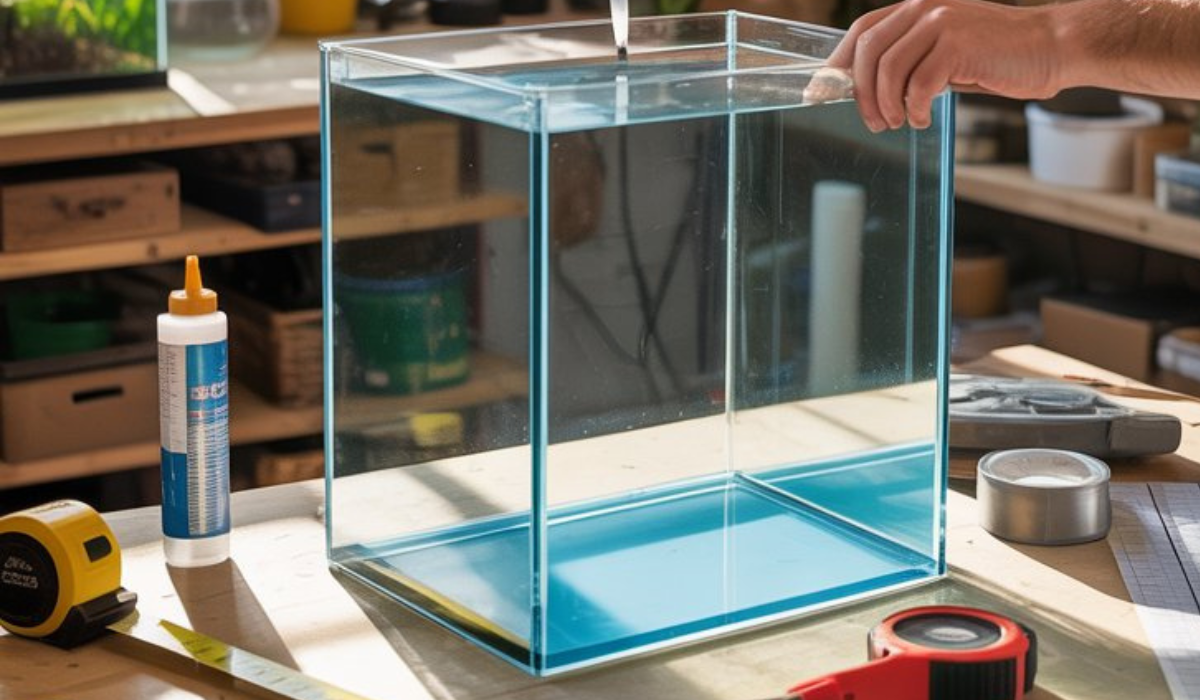
Step-by-Step DIY Fish Tank Build
Start by cleaning all glass panels thoroughly.
Place the base panel on a flat surface. Apply silicone along the edges.
Attach the side panels one by one, pressing gently to secure them.
Use masking tape to hold panels in place while drying.
Seal all inner edges with silicone to prevent leaks.
Allow the tank to cure for at least 24–48 hours.
Once dry, fill the tank with water to test for leaks before adding fish.
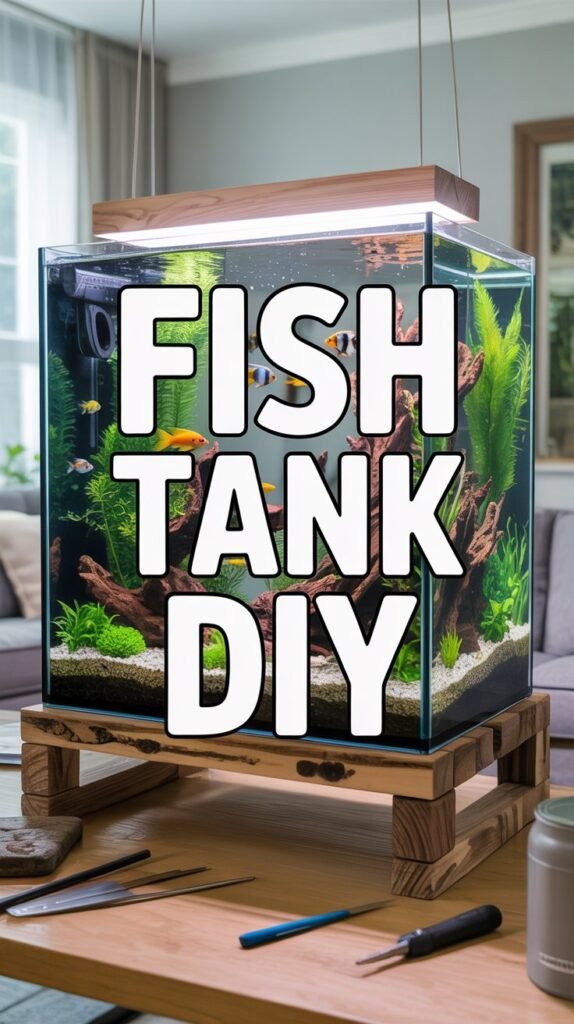
DIY Stand or Cabinet Idea
You can also build a matching stand.
Use strong wood or metal. Ensure it can handle the tank’s weight.
Add shelves for storage and apply waterproof coating.
Safety Tips
Always build your tank on a flat, stable surface.
Double-check seals to avoid leaks.
Do not rush the curing process.
Avoid using weak materials for large tanks.
Common Mistakes to Avoid
- Using non-aquarium silicone
- Poor sealing
- Uneven surfaces
- Choosing glass that is too thin
- Adding fish before testing
Avoiding these mistakes ensures a safe and durable tank.
Maintenance Tips
Once your DIY tank is ready:
- Perform weekly water changes
- Clean glass and remove algae
- Check seals occasionally
- Maintain filter and equipment
Regular care keeps your aquarium healthy.
Why DIY Fish Tanks Are Popular
DIY aquariums are popular because they allow creativity and personalization. They are also budget-friendly and give hobbyists a sense of achievement.
From simple tanks to advanced designs, DIY projects suit all skill levels.
Final Thoughts
A fish tank DIY project is a great way to build a custom aquarium that fits your style and needs. With the right materials, proper planning, and careful construction, you can create a safe and beautiful home for your fish.
Start with a simple design, gain experience, and gradually try more advanced setups.
FAQs
Is it safe to build your own fish tank?
Yes, if done correctly with proper materials.
What is the best material for DIY tanks?
Glass is the most common and reliable option.
How long should silicone dry?
At least 24–48 hours.
Can beginners build a fish tank?
Yes, start with a small and simple design.
How do I check for leaks?
Fill the tank with water and observe for any leaks before use.