
Creating a thriving planted aquarium is both an art and a science. Among the most important elements for plant health and growth is carbon dioxide (CO₂). In nature, plants receive plenty of CO₂ from the environment, but in an aquarium, this gas is often limited — especially in heavily planted tanks. That’s why many aquarists turn to DIY CO₂ systems to supplement their aquariums economically.
In this comprehensive guide, we’ll explore everything you need to know about DIY CO₂ aquarium systems — from how they work, materials needed, step-by-step setup, benefits, safety tips, and maintenance.
???? What Is a DIY CO₂ Aquarium System?
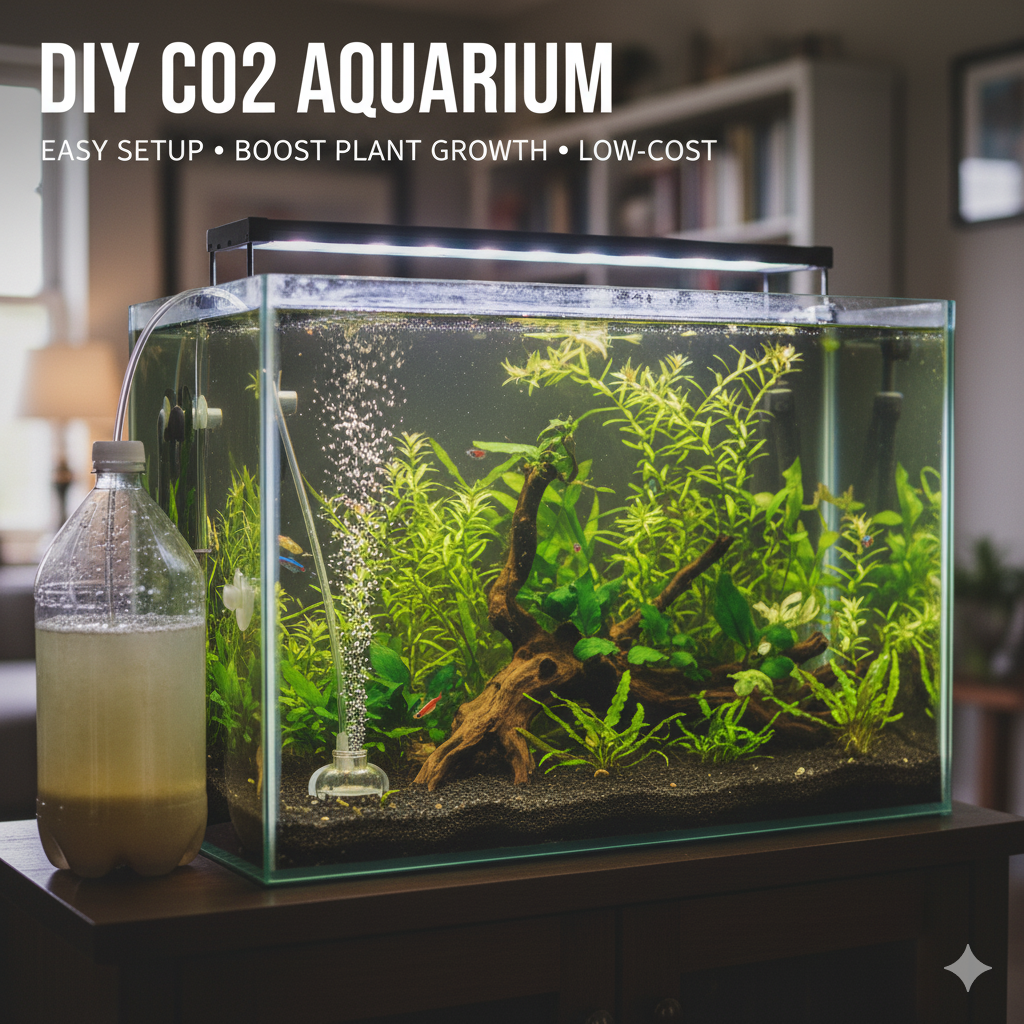
A DIY CO₂ aquarium system is a homemade setup designed to produce and deliver carbon dioxide into your aquarium. Unlike pressurized CO₂ systems (which can be expensive), DIY versions use simple ingredients such as yeast, sugar, and water to create CO₂ through fermentation.
When yeast breaks down sugar in an oxygen-free environment, it produces alcohol and carbon dioxide as byproducts. The CO₂ can then be directed into your aquarium through tubing and a diffuser to help aquatic plants photosynthesize effectively.
???? Why CO₂ Is Important in Aquariums
Carbon dioxide plays a crucial role in the photosynthesis process of aquatic plants. It helps convert light energy and water into glucose, which fuels plant growth. Without sufficient CO₂, plants may show slow growth, weak stems, and yellowing leaves.
Here’s what adequate CO₂ levels do in your tank:
- ???? Enhance plant growth and coloration.
- ???? Stabilize pH levels when properly balanced.
- ???? Improve oxygen levels indirectly by promoting healthier plants.
- ???? Create a more natural ecosystem for fish and shrimp.
???? Materials Needed for a DIY CO₂ Aquarium Setup
Building your own CO₂ generator is simple and inexpensive. Here’s a list of what you’ll need:
Basic Ingredients
- Sugar (2 cups) – acts as the energy source for the yeast.
- Dry yeast (1 teaspoon) – converts sugar into CO₂ and alcohol.
- Baking soda (½ teaspoon) – helps stabilize pH and extend fermentation life.
- Warm water (1 liter) – activates the yeast.
Equipment
- 2-liter plastic bottle (clean and dry).
- Airline tubing – connects the bottle to your aquarium.
- Check valve – prevents water from flowing back into the CO₂ bottle.
- Diffuser or air stone – disperses CO₂ into fine bubbles for better absorption.
- Sealant (silicone or glue) – ensures airtight connections.
Optional but recommended:
- Bubble counter – helps monitor CO₂ output.
- Second bottle (CO₂ wash bottle) – traps any yeast residue or liquid before entering the aquarium.
⚗️ How to Make a DIY CO₂ System (Step-by-Step)
Follow these steps carefully to build your own reliable CO₂ generator:
Step 1: Prepare the CO₂ Generator Bottle
- Take a clean 2-liter soda bottle.
- Drill or puncture a hole in the bottle cap.
- Insert the airline tubing into the hole, sealing around it with silicone glue to make it airtight.
- Let the sealant cure completely before use.
Step 2: Mix the Ingredients
- Pour 2 cups of sugar into the bottle.
- Add ½ teaspoon of baking soda.
- Fill the bottle halfway (about 1 liter) with warm water (not hot).
- Add 1 teaspoon of yeast.
- Shake the bottle gently until the sugar dissolves, but don’t overmix.
Step 3: Set Up the Tubing and Diffuser
- Connect the tubing from the CO₂ bottle to a check valve, ensuring the flow direction is correct.
- From the check valve, run another section of tubing into the aquarium and attach your diffuser or air stone.
- Optionally, connect a second bottle (wash bottle) between the generator and aquarium to trap any residue.
Step 4: Wait for CO₂ Production
Within a few hours, fermentation will begin, and you’ll notice bubbles forming in your diffuser. This is the CO₂ being produced by the yeast.
????️ How to Regulate CO₂ Output
Unlike pressurized systems, a DIY CO₂ setup doesn’t offer precise control. However, you can manage the output by:
- Adjusting yeast quantity – less yeast means slower CO₂ production.
- Regulating water temperature – warmer water speeds up fermentation.
- Using multiple bottles – for consistent CO₂ flow, stagger two bottles 5–7 days apart.
A bubble counter is useful to monitor CO₂ flow (e.g., 1–2 bubbles per second for medium tanks).
???? Benefits of a DIY CO₂ Aquarium System
A DIY CO₂ setup offers many advantages, especially for beginners and budget-conscious aquarists:
- ???? Cost-Effective – Much cheaper than pressurized CO₂ systems.
- ???????? Easy to Build – Uses readily available household items.
- ???? Improved Plant Growth – Provides necessary CO₂ for lush, green plants.
- ???? Better Fish Health – Plants grow faster, stabilizing oxygen and pH balance.
- ♻️ Eco-Friendly – Uses natural fermentation instead of metal canisters.
⚠️ Common Problems and Troubleshooting
Even the best DIY systems can face issues. Here’s how to handle them:
1. No Bubbles or CO₂ Output
- Check for leaks in the tubing or cap seal.
- Ensure yeast is active and water isn’t too hot or cold.
- Replace the mixture if it’s older than 2 weeks.
2. CO₂ Flow Stops Suddenly
- Fermentation might have slowed down; add a little sugar-water mix to restart it.
- Check if the tubing is blocked or kinked.
3. Water Backflow into Bottle
- Install a check valve properly.
- Keep the bottle lower than your aquarium’s water level.
4. Excess CO₂ Levels
- Watch your fish — if they gasp at the surface, reduce CO₂ immediately by removing the tubing or increasing surface agitation.
???? How Long Does DIY CO₂ Last?
Typically, a single mixture lasts 2 to 4 weeks, depending on:
- Temperature (warmer = faster reaction, shorter lifespan).
- Yeast amount.
- Sugar concentration.
When bubbles slow down noticeably, it’s time to make a new batch.
???? Best Plants for DIY CO₂ Aquariums
Some aquarium plants benefit greatly from added CO₂. Here are excellent options:
- Java Fern (Microsorum pteropus)
- Anubias species
- Amazon Sword (Echinodorus amazonicus)
- Dwarf Hairgrass (Eleocharis parvula)
- Rotala rotundifolia
- Ludwigia repens
- Monte Carlo (Micranthemum tweediei)
These plants grow faster, greener, and more compact under DIY CO₂ systems
???? Maintenance Tips for DIY CO₂ Systems
To keep your setup safe and efficient:
- ???? Clean tubing and diffuser every month.
- ???? Replace the yeast mixture every 2–3 weeks.
- ???? Check for leaks each time you refill.
- ????️ Keep the bottle in a cool, shaded area to avoid overheating.
- ???? Monitor CO₂ levels using a drop checker (should be light green for optimal CO₂).
???? Alternative DIY CO₂ Methods
Aside from yeast fermentation, here are a few other DIY approaches:
1. Citric Acid + Baking Soda System
This two-bottle method produces CO₂ through a controlled chemical reaction. It’s more stable than yeast fermentation and easier to regulate using valves.
2. DIY Pressurized System
Some aquarists modify soda-stream or paintball cylinders with regulators — this is a semi-professional setup for consistent output, but it requires caution.
???? Comparing DIY vs Pressurized CO₂ Systems
| Feature | DIY CO₂ | Pressurized CO₂ |
|---|---|---|
| Cost | Low | High |
| Setup Difficulty | Easy | Moderate |
| CO₂ Control | Limited | Precise |
| Consistency | Variable | Very Stable |
| Maintenance | Frequent | Low |
| Best For | Beginners & small tanks | Advanced & large tanks |
If you’re new to aquascaping or have a nano/mid-size aquarium (10–40 gallons), DIY CO₂ is a great starting point.
???? Safety Tips
While DIY CO₂ systems are safe overall, improper handling can lead to issues. Keep these precautions in mind:
- Never shake the bottle excessively once fermentation starts.
- Don’t overfill the bottle with sugar-water mix.
- Avoid placing the bottle above the aquarium (to prevent back-siphon accidents).
- Replace components that show wear or leaks.
- Keep out of reach of children and pets.
???? Final Thoughts
A DIY CO₂ aquarium system is a budget-friendly and practical way to boost plant growth and create a lush, vibrant aquascape. Though it requires some maintenance and lacks precise control, the satisfaction of building and managing your own CO₂ generator is rewarding.
Whether you’re a beginner or a seasoned aquarist experimenting with natural solutions, this project helps you understand the fundamentals of aquarium chemistry while keeping costs low.
With the right setup, consistent monitoring, and a little patience, your plants will reward you with explosive growth, deep green colors, and a stunning underwater garden.
❓ FAQs About DIY CO₂ Aquarium Systems
1. How long does DIY CO₂ last?
A single batch of yeast and sugar typically lasts 2–3 weeks, depending on temperature and ingredients.
2. Can DIY CO₂ harm fish?
Yes, excessive CO₂ can reduce oxygen levels. Always monitor your fish for stress and adjust CO₂ if they start gasping at the surface.
3. How many bottles do I need for my aquarium?
- Up to 20 gallons: 1 bottle
- 20–40 gallons: 2 bottles (staggered start)
- Over 40 gallons: Consider a pressurized CO₂ system
4. Can I turn off DIY CO₂ at night?
Unlike pressurized systems, DIY CO₂ cannot easily be turned off. You can disconnect the tubing or use an air stone at night to reduce concentration.
5. Is DIY CO₂ effective for all plants?
It works best for medium to high-light plants. Low-light plants like Anubias or Java Ferns may not need extra CO₂ but will still benefit.
6. What is the ideal CO₂ level for aquariums?
Aim for 20–30 ppm of CO₂. You can test this using a drop checker with bromothymol blue indicator.